Setup & Migration
Import your existing data into ListerLeo from spreadsheets or other systems so you can hit the ground running.
org-admin org-ownerIf you are switching to ListerLeo from another system, the Migration Wizard helps you import your existing condition codes, vendors, warehouse locations, lots, and items. This saves you from manually recreating all your data. Access is restricted to org-owner and org-admin.
Accessing the Migration Wizard
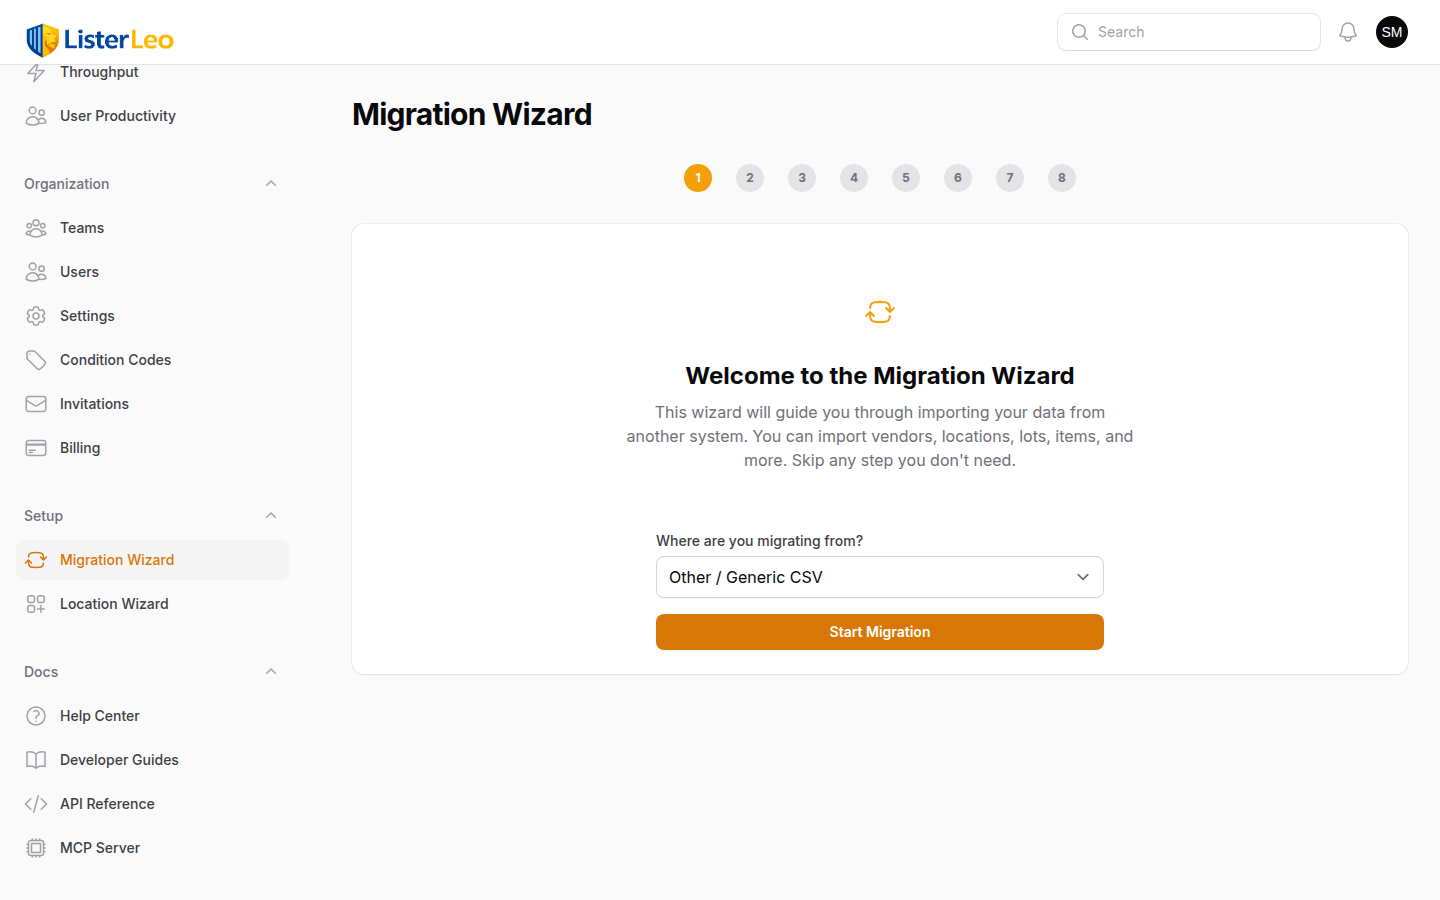
- In the left sidebar, open Setup > Migration Wizard.
- On the Welcome step, pick the source platform (ManyFastScans, HiBid, Proxibid, AuctionZip / Invaluable, or Other / Generic CSV) so the wizard can pre-fill column mappings and condition-code aliases.
- The wizard then walks you through the steps in order: Condition Codes → Vendors → Warehouses & Locations → Condition Mapping → Lots → Items → Summary.
Import Order Matters
The wizard enforces a specific import order because data has dependencies:
- Condition Codes first — Items reference condition codes (N, LN, G, F, P, S by default), so any custom codes must exist before importing items.
- Vendors — Items and lots reference vendors by name or code, so vendors must exist before importing them.
- Warehouses & Locations — Items reference locations for put-away, so locations must exist before importing items with location data.
- Lots — Items are assigned to lots by
lot_number, so lots must exist before importing items with lot assignments. - Items last — Items can reference vendors, locations, lots, and condition codes.
You do not have to import every step. Use Skip to bypass any step you do not have data for — the wizard will keep moving forward and stamp the step as skipped in the Summary.
Importing Condition Codes
org-adminNew organizations ship with six default condition codes (N — New, LN — Like New, G — Good, F — Fair, P — Poor, S — Salvage). If you want to add or replace them with codes from your previous system, upload a CSV in this step.
CSV Format
Each row represents one condition code. Auto-detection recognises common header variations.
| Column | Required | Description |
|---|---|---|
| code | Yes | Short code (e.g., N, LN) used in CSVs and labels |
| name | Yes | Display name (e.g., "New", "Like New") |
| description | No | Operator-facing definition of the code |
| sort_order | No | Numeric order in pickers (low to high) |
Importing Vendors
org-adminImport your vendor (consignor) list from a CSV file to set up all your suppliers at once. Vendors are matched on name for duplicate detection.
CSV Format
Your vendor CSV must include a name column. Optional columns include:
| Column | Required | Description |
|---|---|---|
| name | Yes | Vendor / consignor name (aliases: vendor_name, supplier, supplier_name, company, company_name) |
| code | No | Short vendor code used in serial numbers and lot prefixes. Stored as-is if provided; left blank otherwise. |
| contact_name | No | Primary contact person |
| contact_email | No | Contact email (validated) |
| contact_phone | No | Contact phone number |
| address | No | Business address |
| notes | No | Free-form notes / comments / memo |
| default_buyers_premium_pct | No | Vendor-level buyer's premium percentage used by the settings cascade |
| default_timezone | No | Vendor-level timezone for auction scheduling |
| default_terms | No | Auction terms text inherited by lots from this vendor |
| default_pickup_location | No | Default pickup address for items from this vendor |
- Upload your CSV file.
- Review the auto-detected column mapping and adjust any unmapped columns.
- Preview rows shown by the wizard (first 5 rows) for accuracy.
- Choose a duplicate strategy (Skip, Update, or Flag) and run the import.
Importing Warehouses & Locations
org-adminImport warehouse locations from a CSV file. Each row represents one location node (zone, aisle, shelf, or bin). Build the hierarchy by referencing parent codes — or use the Location Wizard for programmatic bulk creation instead.
CSV Format
| Column | Required | Description |
|---|---|---|
| location_code | Yes | Unique code for this location (aliases: code, location, location_id, zone, aisle, shelf, bin) |
| warehouse_name | No | Which warehouse this location belongs to. Falls back to your default warehouse (the one with is_default=true — your "Main Warehouse" out of the box) if blank or unmatched. |
| location_type | No | One of zone, aisle, shelf, bin. Defaults to bin if omitted. |
| name | No | Human-readable label (e.g., "Receiving Bay") |
| barcode | No | Scan code printed on the location label |
| parent_location_code | No | Code of the parent location (a bin's parent is a shelf, a shelf's is an aisle, an aisle's is a zone) |
Duplicates are detected on location_code. Use the duplicate strategy selector to choose Skip (keep the existing record), Update (overwrite with the CSV values), or Flag (record an error for manual review).
Importing Lots
org-adminImport existing lots from a CSV to preserve your lot structure when migrating from another system. Lots are deduplicated on lot_number.
CSV Format
| Column | Required | Description |
|---|---|---|
| lot_number | Yes | External lot number from your previous system (aliases: lot_serial, lot_code, lot_id, lot_no, number) |
| name | No | Lot title for auction listing (aliases: lot_name, title, label) |
| description | No | Lot description / notes / details |
| vendor | No | Vendor name or code; matched against existing vendors |
| status | No | Lot status. Allowed values: draft, receiving, cataloging, staging, ready_for_auction, exported, sold, archived. Unknown values fall back to draft. |
| auction_date | No | Scheduled auction date for the lot |
If a vendor name or code is provided, ListerLeo matches it against existing vendors. Vendors must be imported first if you want lot rows to link cleanly.
Importing Items
org-adminImport auction items from a CSV to bring your existing inventory into ListerLeo. This is the most data-rich import. Items are deduplicated on barcode when one is provided.
CSV Format
| Column | Required | Description |
|---|---|---|
| title | Yes | Item name (aliases: item_title, product_name, product_title, name, heading) |
| barcode | No | UPC, EAN, SKU, or other scan code (aliases: upc, ean, sku, item_barcode, product_barcode, scan_code) |
| description | No | Item description / details / listing description |
| condition | No | Condition code (e.g., N, LN) — runs through Condition Mapping if it does not match |
| condition_notes | No | Free-form damage or defect notes |
| quantity | No | Number of units in this item record (aliases: qty, count, units) |
| starting_bid | No | Opening bid (aliases: start_bid, start_price, opening_bid, minimum_bid) |
| reserve_price | No | Reserve / minimum sale price |
| buy_now_price | No | Buy-it-now / fixed price (aliases: buy_now, fixed_price, bin_price) |
| estimated_value | No | MSRP / retail / market value (aliases: value, est_value, market_value, retail, retail_price, msrp, price) |
| cost | No | Acquisition / cost-of-goods (aliases: item_cost, purchase_price, acquisition_cost, cogs) |
| lot_number | No | Assigns the item to an existing lot by lot_number |
| vendor | No | Vendor name or code; matched against existing vendors |
| status | No | Workflow status (aliases: item_status, state, workflow_status). Allowed values: scanned, cataloged, put_away, picked, sold, archived. Unknown values fall back to scanned. |
Imports run as background batches. Track progress in the wizard's Summary step, and continue working in other tabs while large files process. Each batch creates a row in ImportBatch; the wizard polls for completion and shows per-row error counts.
Condition Mapping
org-adminWhen importing items from another system, the condition values in your CSV may not line up with your ListerLeo condition codes. The wizard inserts a Condition Mapping step between Warehouses and Lots so you can translate external condition values to your internal codes.
How Condition Mapping Works
- The wizard loads the condition-code mapping defined by the source platform profile (ManyFastScans, HiBid, Proxibid, AuctionZip / Invaluable, or Other / Generic CSV).
- Each external value is paired with a dropdown showing your organization's condition codes (sorted by
sort_order). - Adjust any pre-filled mappings to match your codes — unmapped values fall through and trigger a validation error during the items import.
- Continue to the Lots step. The mapping is passed into the items importer so condition columns are normalised row-by-row.
Undo Import
org-admin org-ownerIf a step's import produces unexpected results, use the per-step Undo Import button in the wizard to delete the records created by that batch.
How to Undo an Import
- On the step that just finished importing, the results panel shows created / updated / skipped counts.
- Click the red Undo Import button at the bottom of that panel.
- The wizard deletes every record this batch created and shows a confirmation toast with the number rolled back.
Undo only removes records this batch created. Records the batch updated (when the duplicate strategy was Update) are not reverted to their previous values. This action cannot be undone.
Location Wizard
org-adminThe Location Wizard (Setup > Location Wizard) is a visual tool for generating a four-level warehouse hierarchy — Zone → Aisle → Shelf → Bin — in bulk. Unlike the CSV import, the wizard lets you specify counts at each level and previews the plan before writing anything to the database.
For full details on the Location Setup Wizard, see Warehouse > Location Setup Wizard.
Quick Example
To create a warehouse with 3 zones, 4 aisles per zone, 5 shelves per aisle, and 4 bins per shelf:
- Zones: A, B, C (auto-named, or override with custom names)
- Aisles per zone: 4 (codes
A1,A2, …) - Shelves per aisle: 5 (codes
A1-S1,A1-S2, …) - Bins per shelf: 4 (codes
A1-S1-B1,A1-S1-B2, …) - Result: 3 zones + 12 aisles + 60 shelves + 240 bins = 315 locations
Set Bins per shelf to 0 if your warehouse stops at shelves. The Configure step also detects conflicts with existing location codes so a re-run will not clobber what is already there.
Post-Migration Checklist
org-adminAfter completing your data migration, run through this checklist to ensure everything is set up correctly.
- Verify vendor count — Check that all expected vendors were imported. Navigate to Management > Vendors / Consignors and compare the count with your source data.
- Spot-check items — Open 10-20 random items and verify their titles, barcodes, conditions, and vendor assignments are correct.
- Verify location count — Confirm the number of warehouse locations matches your physical setup.
- Test the Processing Station — Scan a test item to verify the full scanning workflow works with your imported vendors.
- Test label printing — Print a test label to confirm your printer is configured correctly.
- Set up workflow steps — In Organization > Settings, review the
workflow_stepslist (defaults: single_screen, photograph, describe, measure, condition, price, review) to control which prompts appear during scanning. - Invite your team — Use Organization > Invitations (or the Setup Wizard's "Invite team" step) to send invitations and assign roles.
- Run a test export — Generate a test CSV export to verify your template produces the correct format.
Run a small pilot with 2-3 users for a day before rolling out to the full team. This catches any configuration issues before they affect everyone.
Data Validation
org-adminDuring import, ListerLeo validates each row and reports any issues. Understanding validation errors helps you fix your CSV and re-import.
Common Validation Errors
- Required field missing — A required column has an empty value in a row (e.g.,
titleon items,nameon vendors,lot_numberon lots,location_codeon locations,code/nameon condition codes). Fix: fill in the missing value. - Invalid email format — A vendor
contact_emailfailedFILTER_VALIDATE_EMAIL. Fix: correct or clear the address. - Duplicate — A row collides with an existing record on the duplicate-check field (vendors and lots on
name/lot_number; locations onlocation_code; items onbarcode; condition codes oncode) and the strategy is Flag. Fix: switch to Skip or Update, or remove the duplicate row.
Unmatched vendor or lot references do not produce errors: the items importer silently creates a "migration import" lot when lot_number does not match an existing lot, and unmapped condition values are stamped onto the item as-is unless caught by Condition Mapping.
Each error row is recorded against the import batch with the row number, the error message, and the failing value, making it easy to find and fix issues in your source file.