Welcome to ListerLeo
Everything you need to know to get up and running with ListerLeo, the warehouse auction management platform.
ListerLeo helps warehouse teams scan, catalog, organize, and export inventory for auction platforms like HiBid. Whether you are receiving truckloads of liquidation goods or managing a consignment operation, ListerLeo gives you the tools to move items from the dock to the auction block efficiently.
This guide walks you through the basics: creating your account, understanding the dashboard, learning about roles, and scanning your very first item. By the end, you will be ready to start processing inventory.
If your organization is already set up and you received an invitation email, skip ahead to Logging In.
Creating Your Account
All UsersThere are two ways to create a ListerLeo account: signing up as a new organization or accepting an invitation from an existing organization.
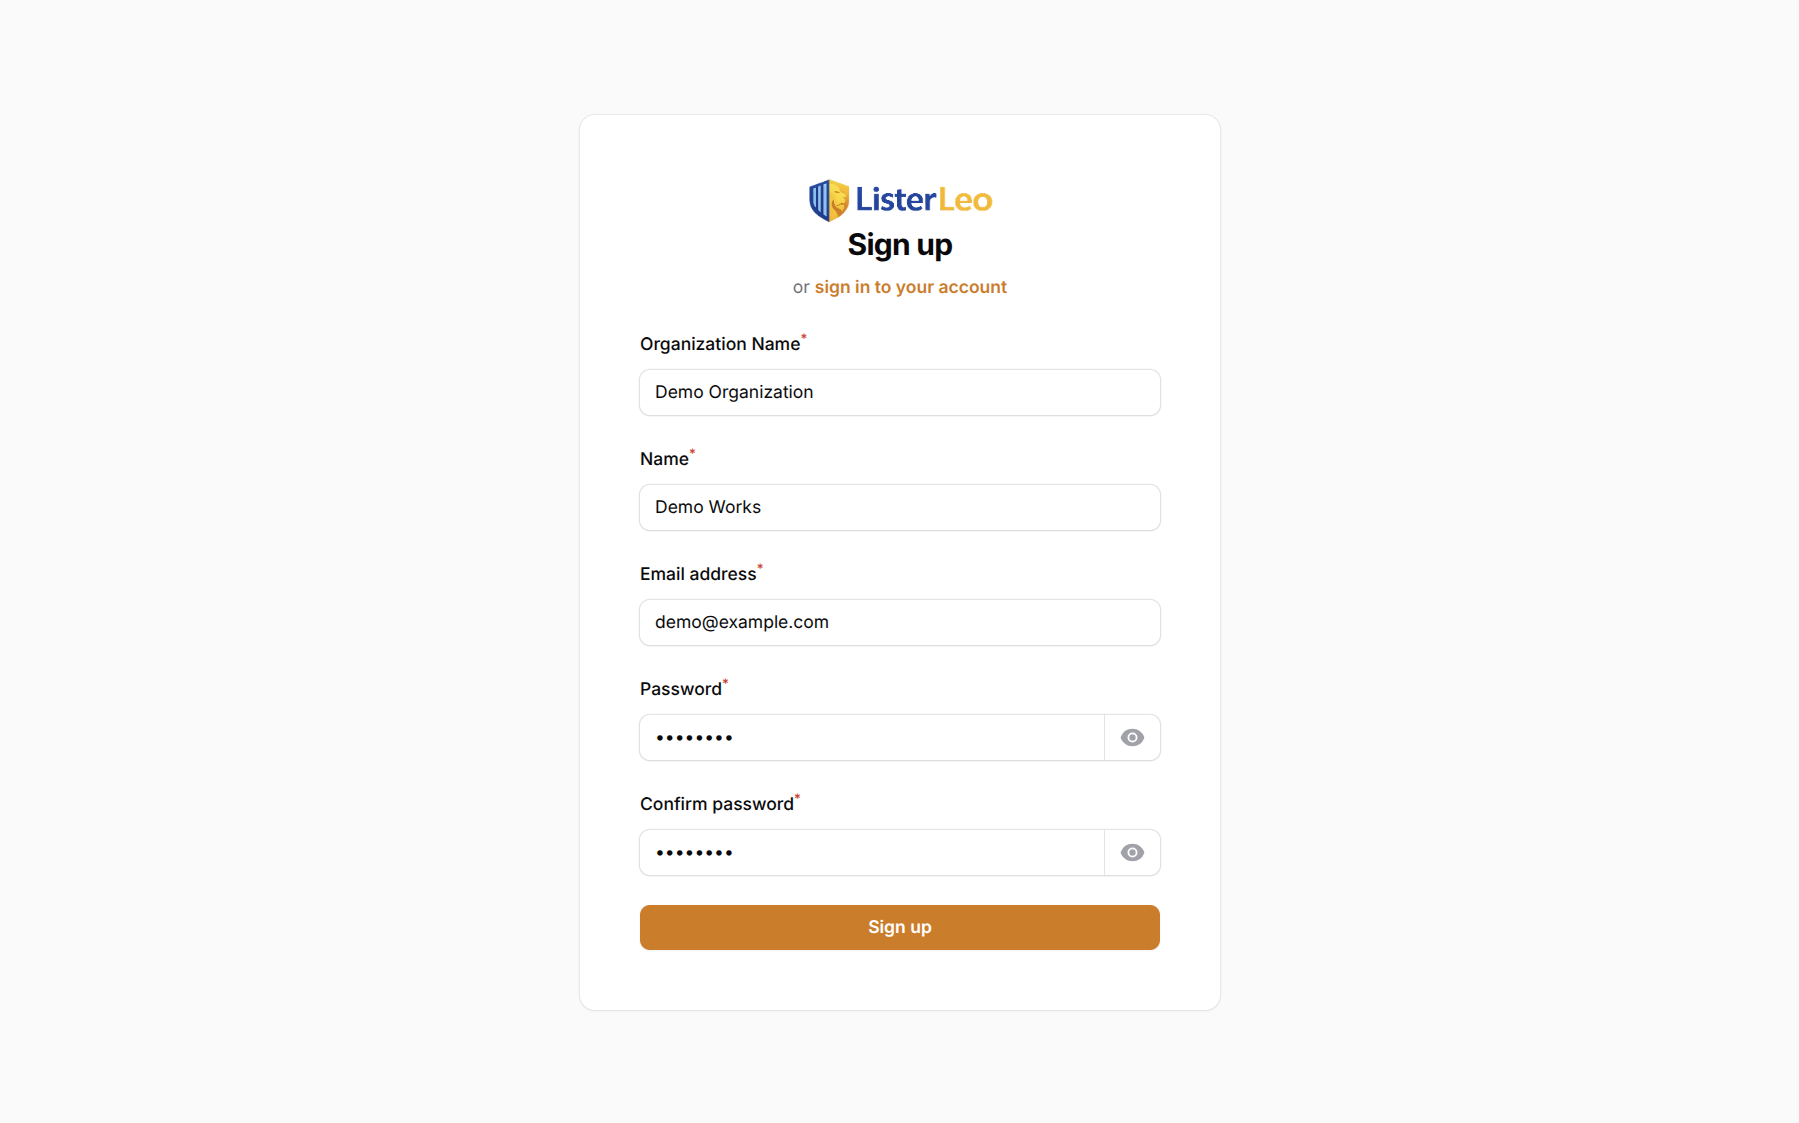
Signing Up as a New Organization
- Navigate to
listerleo.com/admin/registerin your browser. - Enter your organization name (e.g., "Acme Liquidation"). This creates your workspace.
- Enter your full name, email address, and a strong password (and confirm it).
- Click Register. ListerLeo provisions your organization (default condition codes, teams, label and export templates, a Main Warehouse, a default vendor matching your org name, and a first auction), assigns you the
org-ownerrole, and drops you into the Setup Wizard.
Accepting an Invitation
- Open the invitation email from ListerLeo.
- Click the invitation link in the email.
- Set your name and password on the acceptance page. Your email and organization are pre-filled.
- Submit the form to join the organization with the role your administrator assigned.
Invitation links expire after 7 days. If your link has expired, ask your organization administrator to resend the invitation.
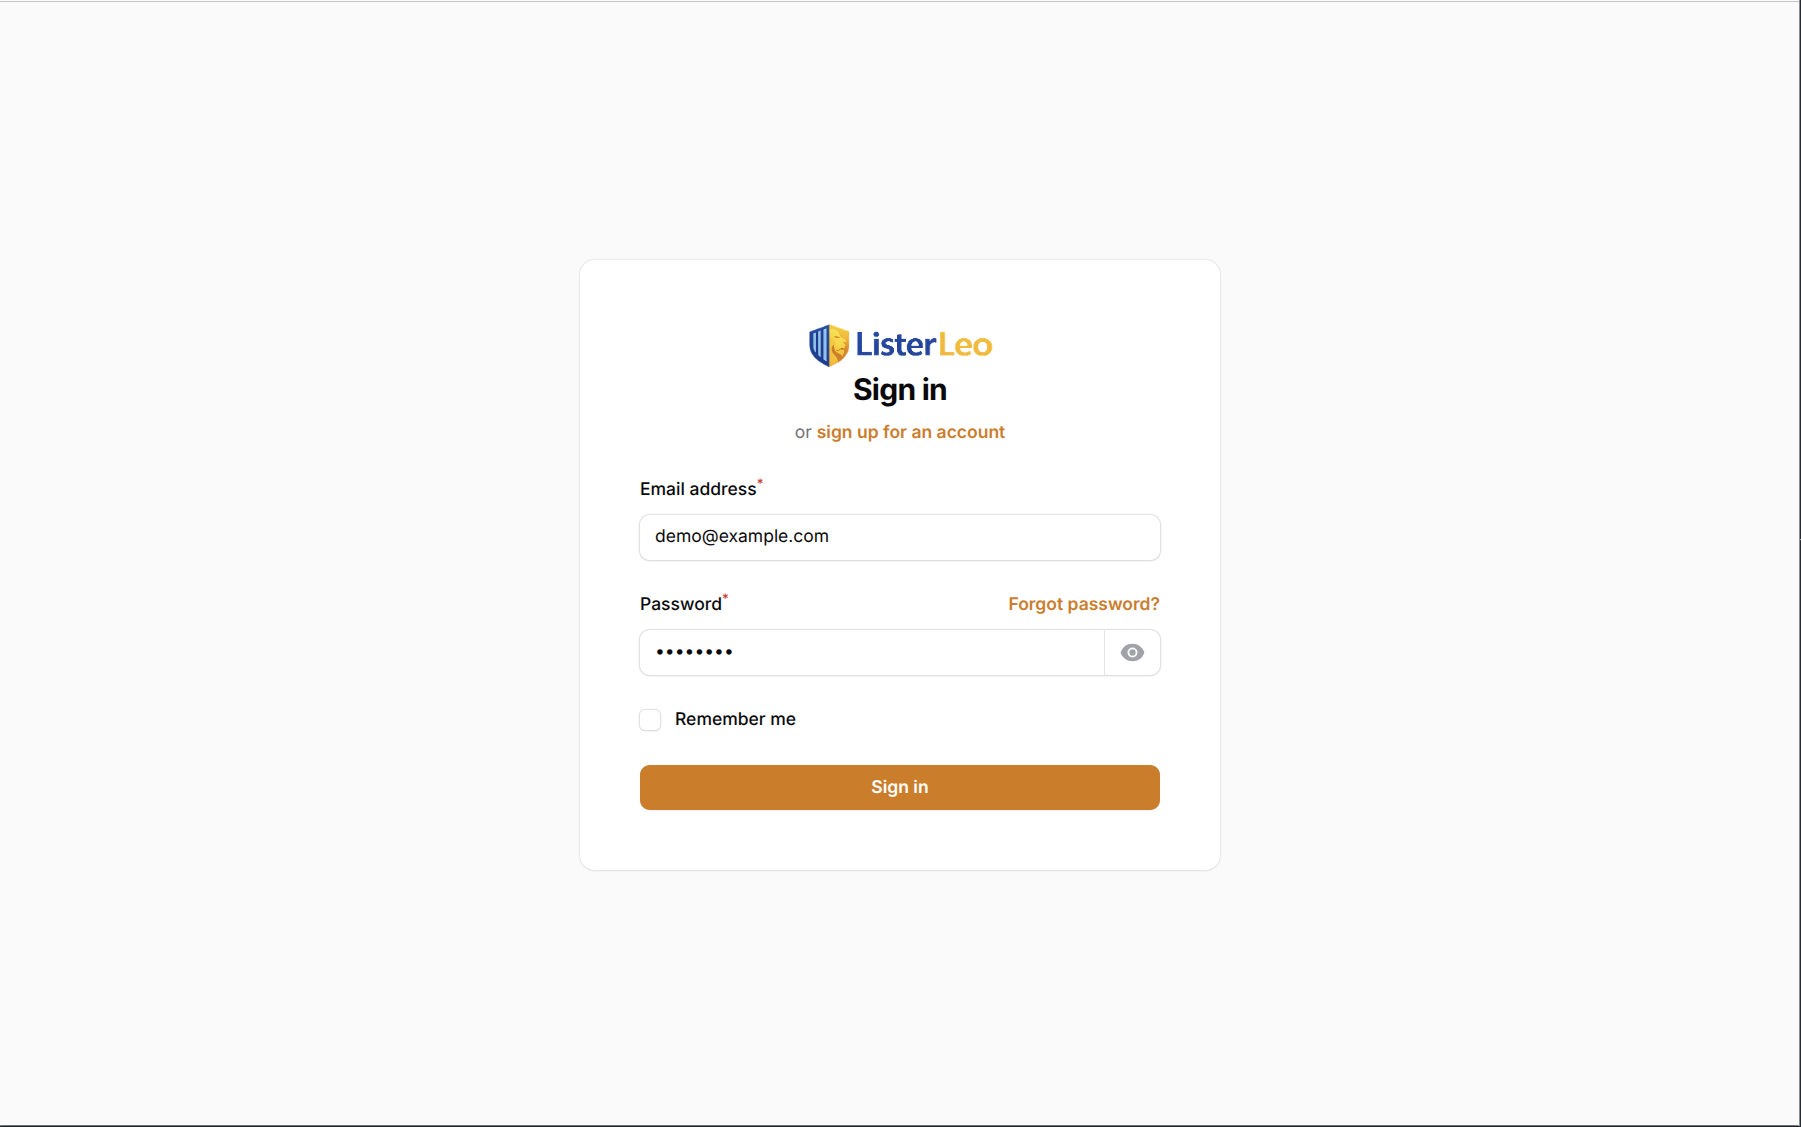
Logging In
All UsersOnce your account is created, you can log in at any time.
- Go to
listerleo.com/admin/login. - Enter your email address and password.
- Click Sign in.
Forgot your password? Click the Forgot password? link under the sign-in form to receive a reset email.
Mobile Login
You can also log in on the ListerLeo mobile app by scanning a login barcode from your desktop session, or by signing in with the API token issued by POST /api/auth/login. See the Mobile App section for details.
Understanding the Dashboard
All UsersAfter logging in, you land on the panel's default Dashboard. The Auction Dashboard (under Operations in the left sidebar) is your day-to-day home for monitoring your team's activity. It is auction-centric: every open auction surfaces as a card with its own progress and inline actions, with a queue for auctions whose results CSV is still pending.
Key Auction Dashboard Elements
- Left Sidebar — Navigation grouped by workflow stage: Management, Operations, Warehouse, Analytics, Organization, Setup, and Docs.
- Warehouse Filter — Narrows the KPIs and Auction Board to auctions with items in a single warehouse. Default is tenant-wide.
- KPI Strip — Four cards: Auctions Open, Closing ≤ 7 days, Items Ready, Revenue 30d.
- Auction Board — One card per open auction with progress bars (Cataloged / Put-Away / Exported / Sold), a countdown, and inline Open / Upload Results / Assign actions.
- Post-Auction Queue — Auctions whose end date has passed but no results CSV has been uploaded yet. One-click upload from each row.
- Worker Activity Feed — The last 50 activity-log entries, refreshed every 30 seconds.
Only the activity feed polls automatically (every 30 seconds). Reload the page to refresh the KPIs and Auction Board.
Roles Explained
org-owner org-admin team-lead All UsersListerLeo uses role-based access control (Spatie permissions, scoped per organization) so each team member has access to the features they need without exposing sensitive settings. There are six roles:
| Role | Description | Key Permissions |
|---|---|---|
| viewer | Read-only access to inventory and reports. | View items, lots, vendors, warehouses, pick lists, exports, and activity log. Cannot create or modify data. |
| scanner | Front-line warehouse worker who processes items. | Scan and create items, view lots, warehouses, locations, pallets, condition codes, and label templates. |
| cataloger | Reviews and enriches item data. | Create, update, and bulk-edit auction items; view lots, vendors, export templates, and product cache lookups. |
| team-lead | Supervises a team and manages workflow. | Create and update lots, assign teams, manage pallets, run exports, import vendor manifests, manage pick lists, and assign tasks via Employee Assignments. |
| org-admin | Manages the organization's configuration. | All team-lead permissions plus user management, vendors, warehouses/locations, condition codes, export and label templates, and organization settings. Cannot manage billing. |
| org-owner | Full control over the organization. | All org-admin permissions plus billing. |
Throughout this documentation, you will see role badges like org-admin next to sections indicating the minimum role required to access that feature.
Your First Item
scannerLet us walk through scanning your very first item in ListerLeo. This quick exercise will familiarize you with the core workflow.
- From the left sidebar, open Operations > Processing Station.
- On the Select Auction & Lot screen, choose an Auction from the dropdown. The vendor is derived from the auction. If no auctions exist yet, create one first under Management > Auctions.
- Pick a Lot mode: Manual Lot Control (a single auto-created lot collects scans until you click New Lot), Lot Per Item (every scan opens a fresh lot), or an existing lot.
- Click Start Scanning.
- Place your cursor in the barcode field and scan or type a UPC, EAN, ASIN, or FnSKU barcode.
- ListerLeo looks up the product. If a match is found, the title, description, and estimated value are pre-populated.
- Add photos with the Upload or Webcam buttons on the review card; drag thumbnails to reorder.
- Select a Condition from the dropdown (defaults are N, LN, G, F, P, S — New, Like New, Good, Fair, Poor, Salvage).
- Optionally set a starting bid or let lot-level pricing apply later.
- Click Confirm & Save.
Congratulations — you have scanned your first item! It now appears in your item list and is attached to the lot you selected. Continue to the Scanning & Cataloging guide for the full details on the Processing Station.
If the barcode does not return a product match, ListerLeo flags the item for manual entry. You can type the title and description yourself, or use the AI Assistant to generate a description from the photo.
Getting Help
All UsersIf you run into issues or have questions, there are several ways to get help.
- This Help Center — Browse the sections in the sidebar for detailed guides on every feature.
- In-App Tooltips — Hover over the (i) icons next to fields and settings for quick explanations.
- Support Email — Contact
support@listerleo.comfor account or billing issues. - Troubleshooting Guide — Check the Troubleshooting section for solutions to common problems.
When contacting support, include your organization name and a description of what you were doing when the issue occurred. Screenshots are always helpful.